How to Use the Wetlands Filter in Land Portal
The Wetlands filter in Land Portal allows you to remove properties based on the percentage of wetlands on a parcel. This helps you avoid unusable land, reduce risk, and focus on properties that are more practical for buying, selling, or developing.
You can set a maximum wetlands percentage, giving you full control over how much of each property can be wetlands.
Step by Step Walkthrough
- Log in to Land Portal and click Map Search

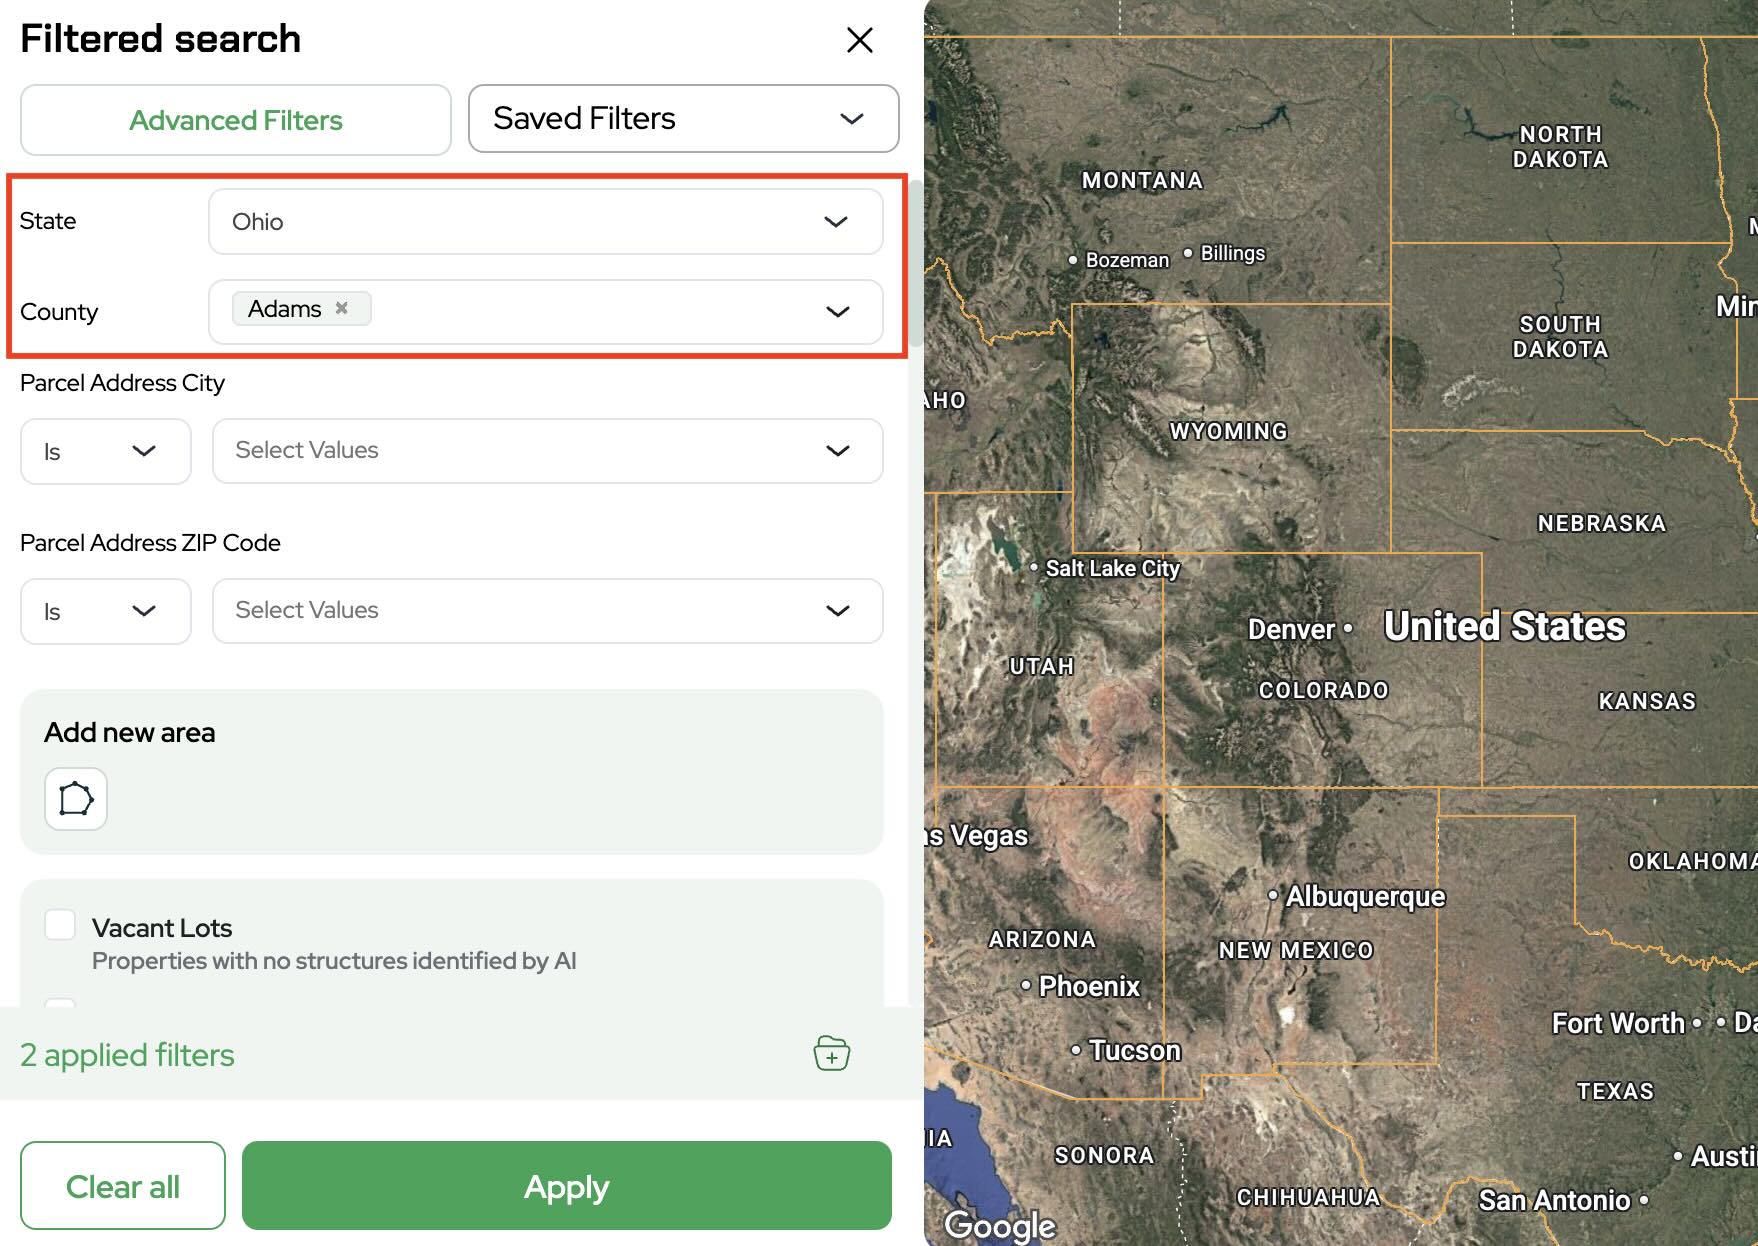
- Select your target state and county
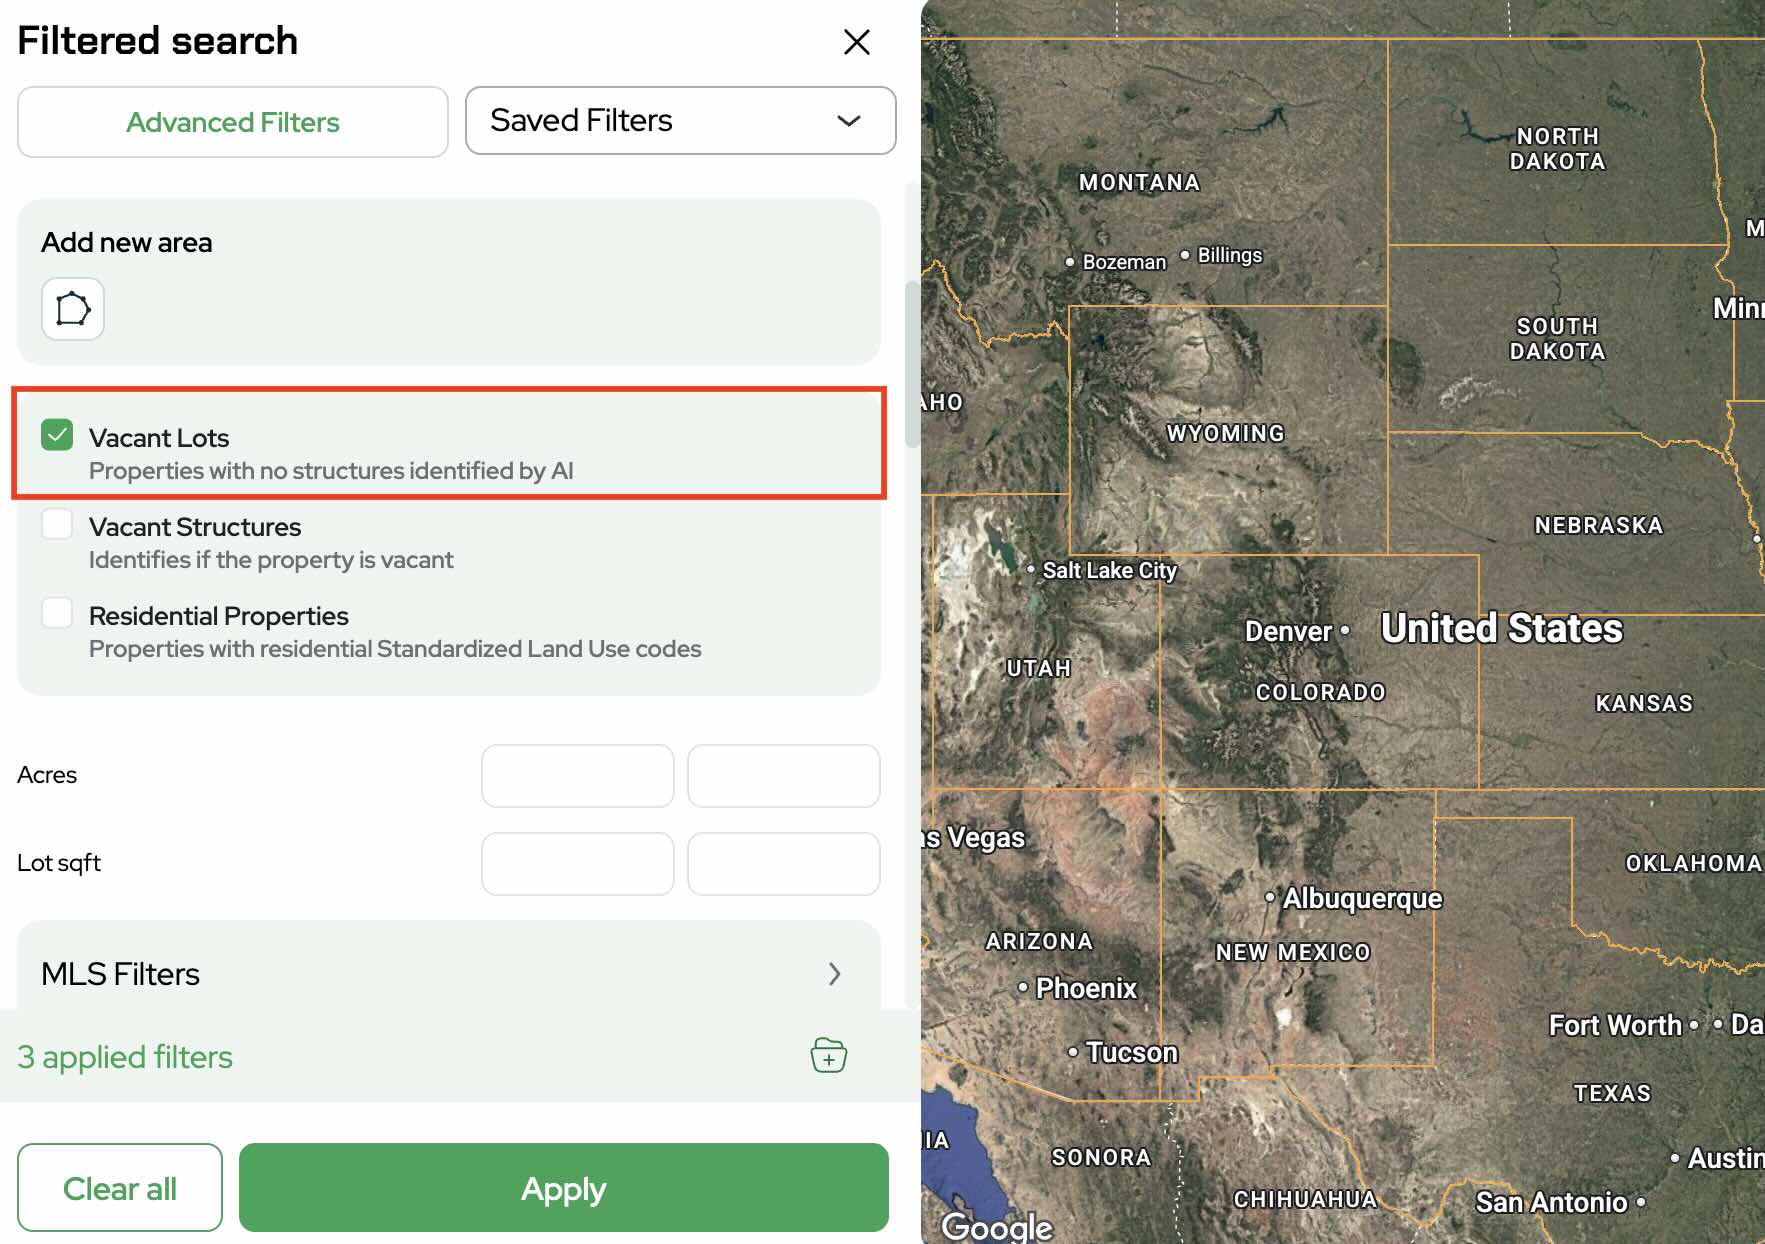
- Choose Vacant Land if that fits your criteria
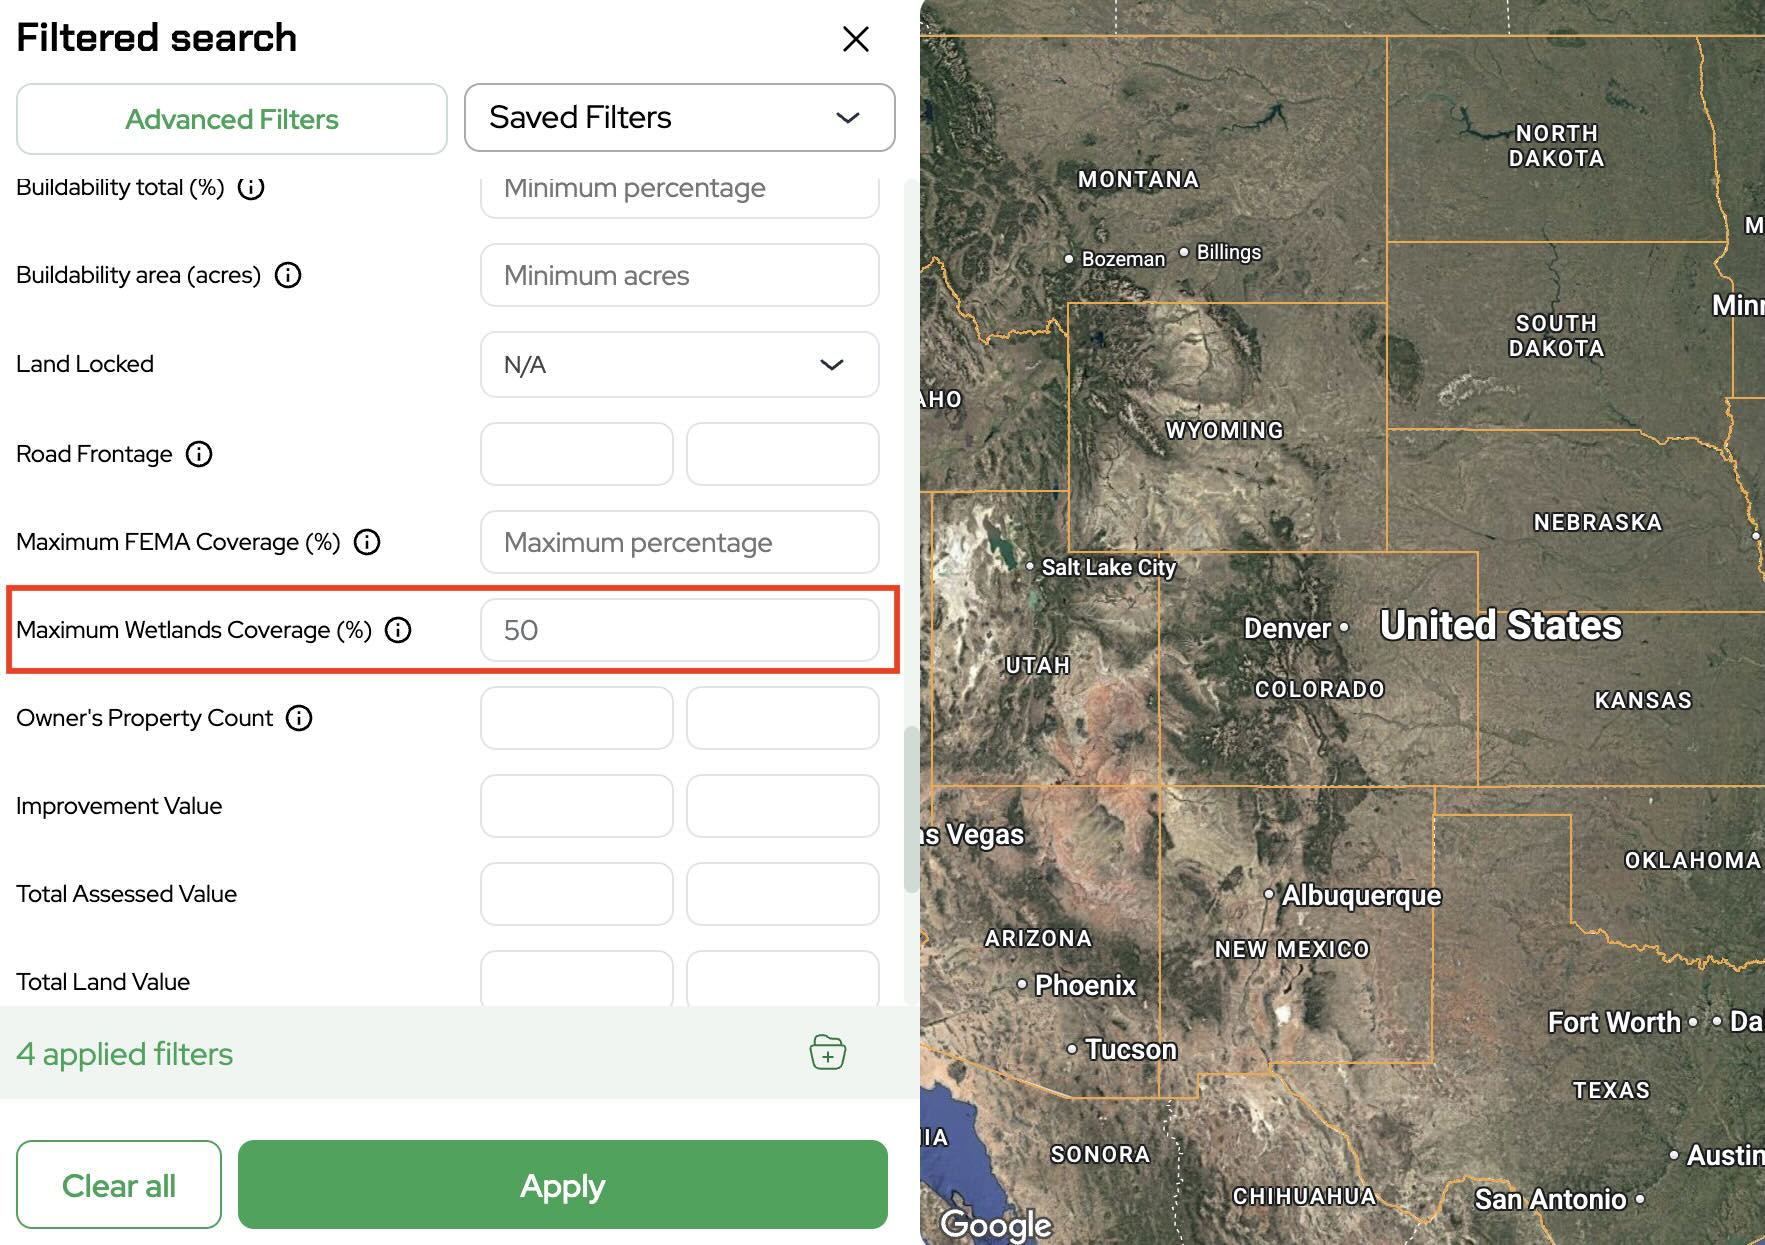
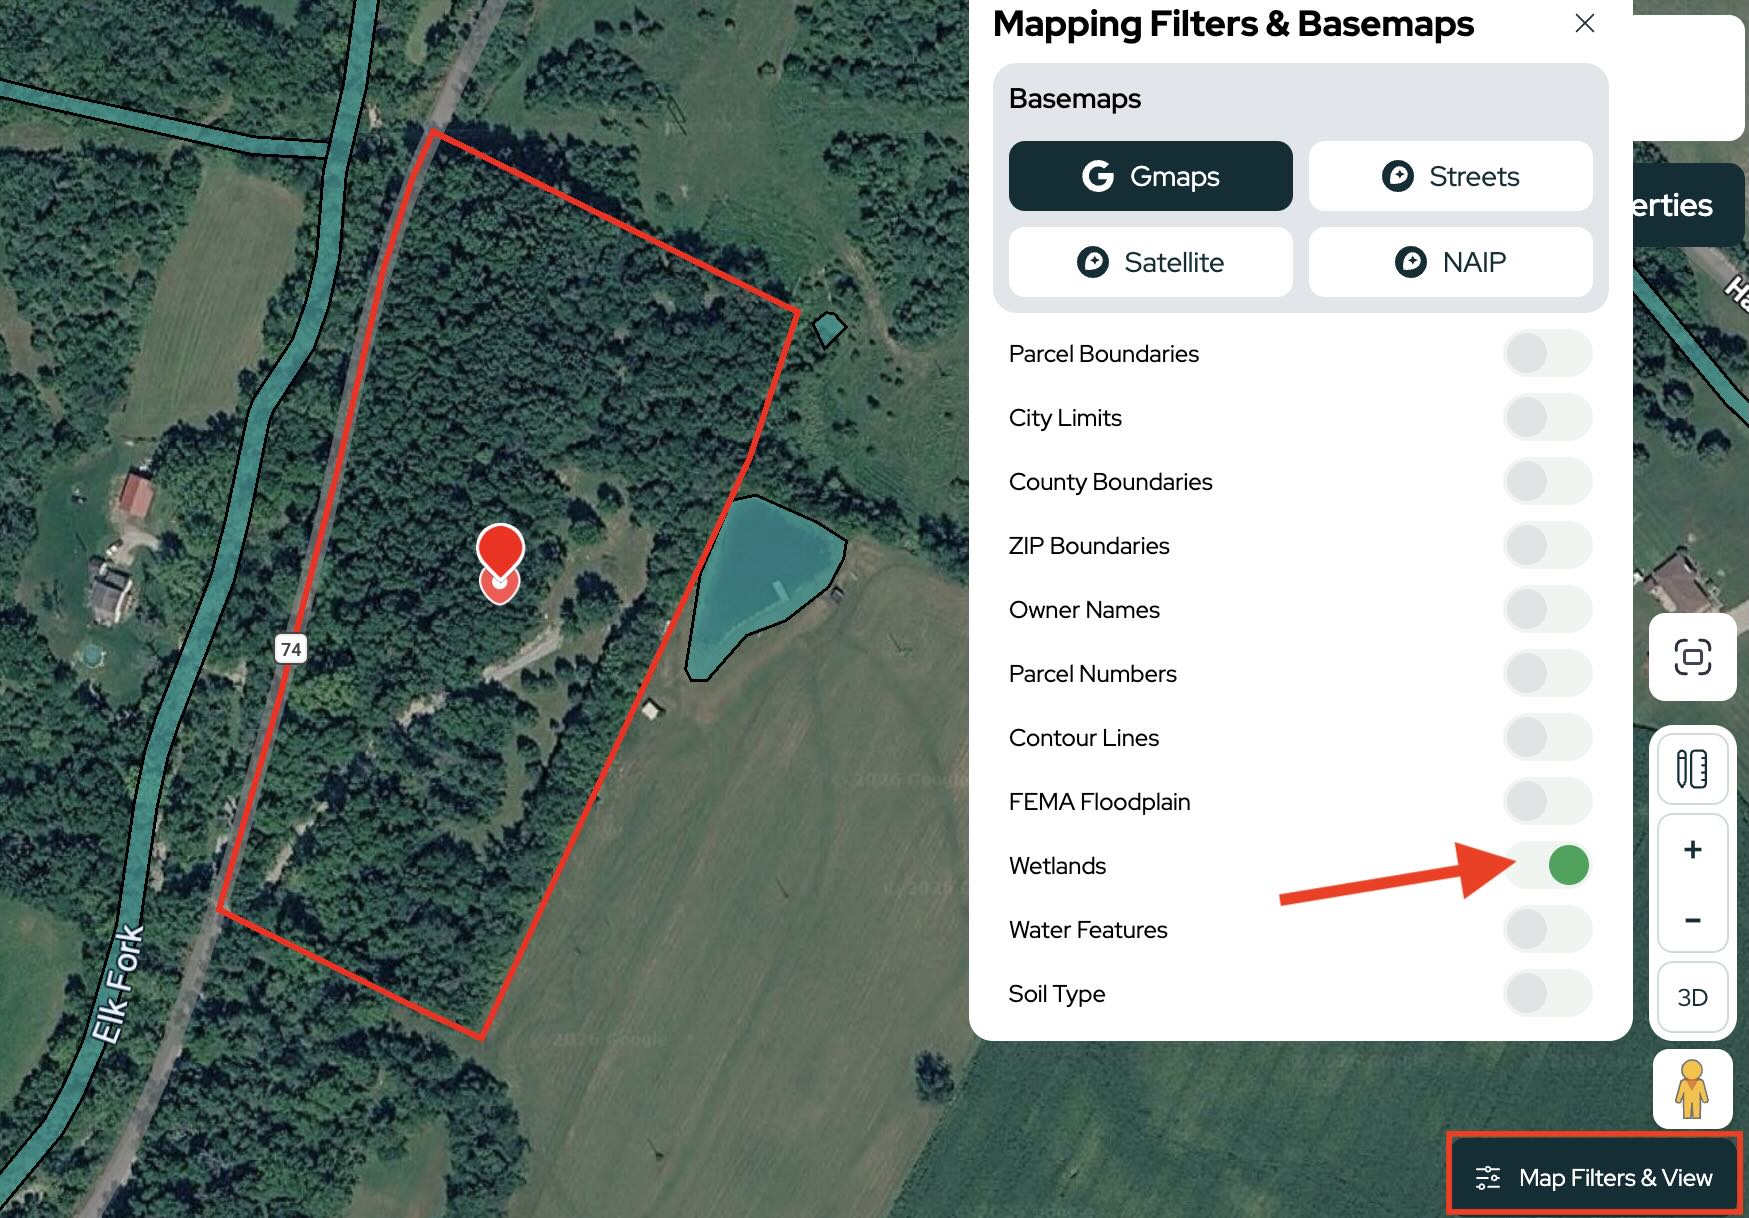
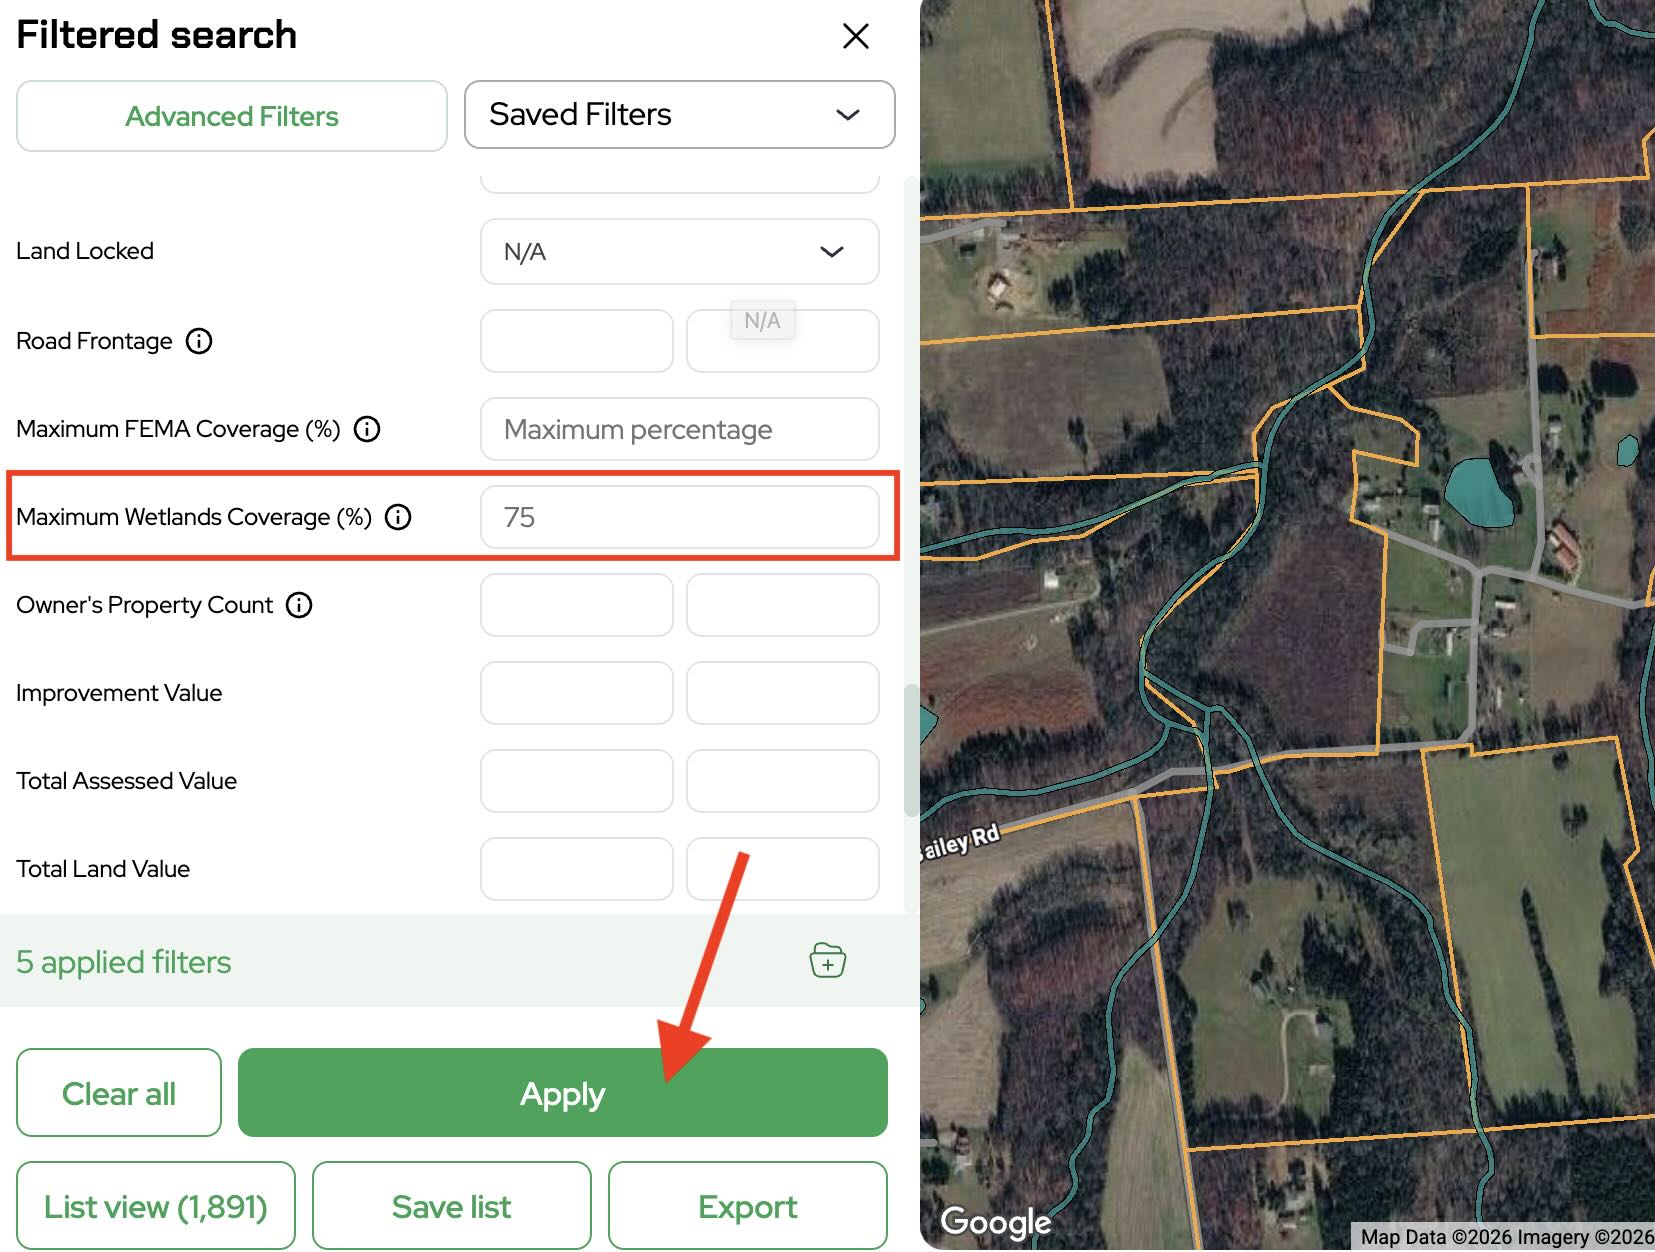
- Locate the Maximum Wetlands Coverage filter
Enter your desired maximum wetlands percentage, which determines how much of the property can be wetlands, for example 50%.
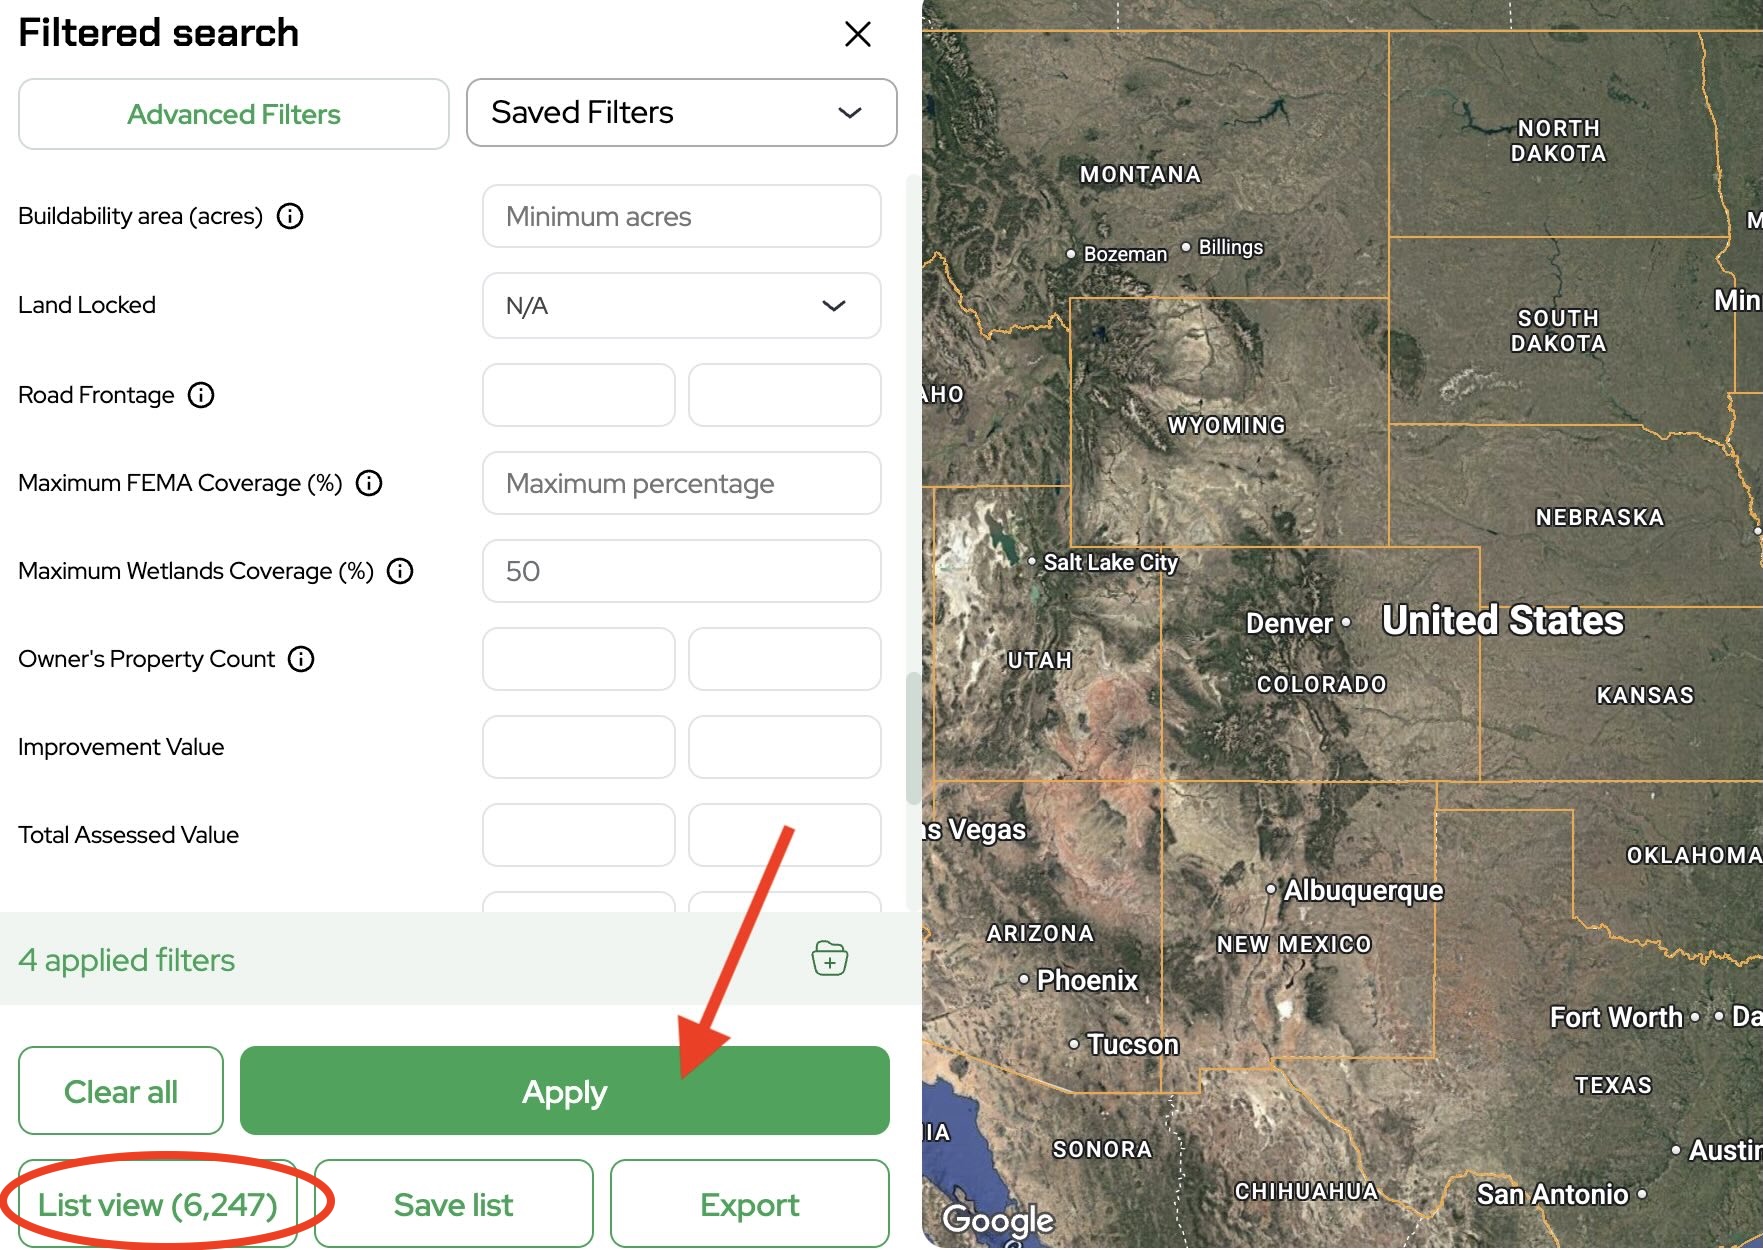
- Click Apply to generate your filtered results
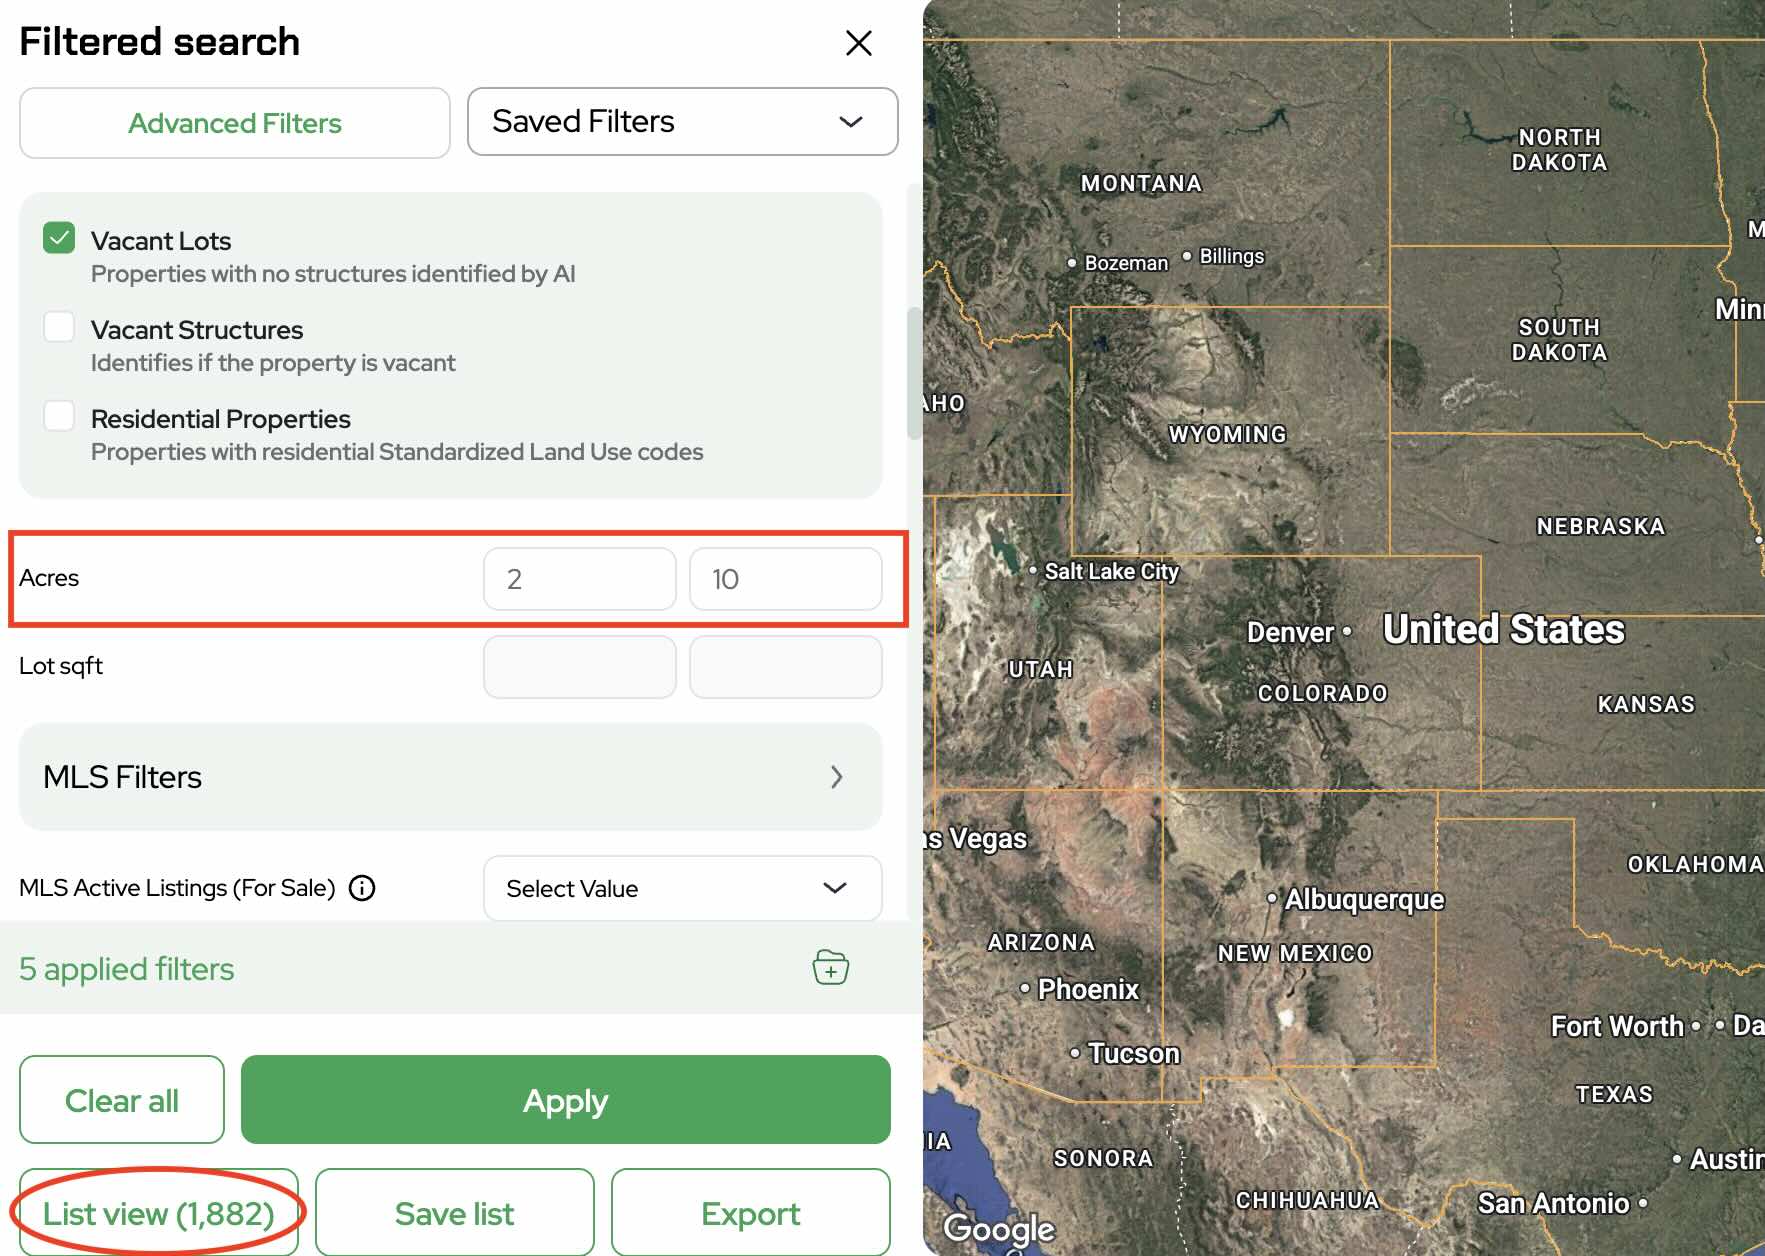
- (Optional) Add additional filters such as acreage to refine your list further
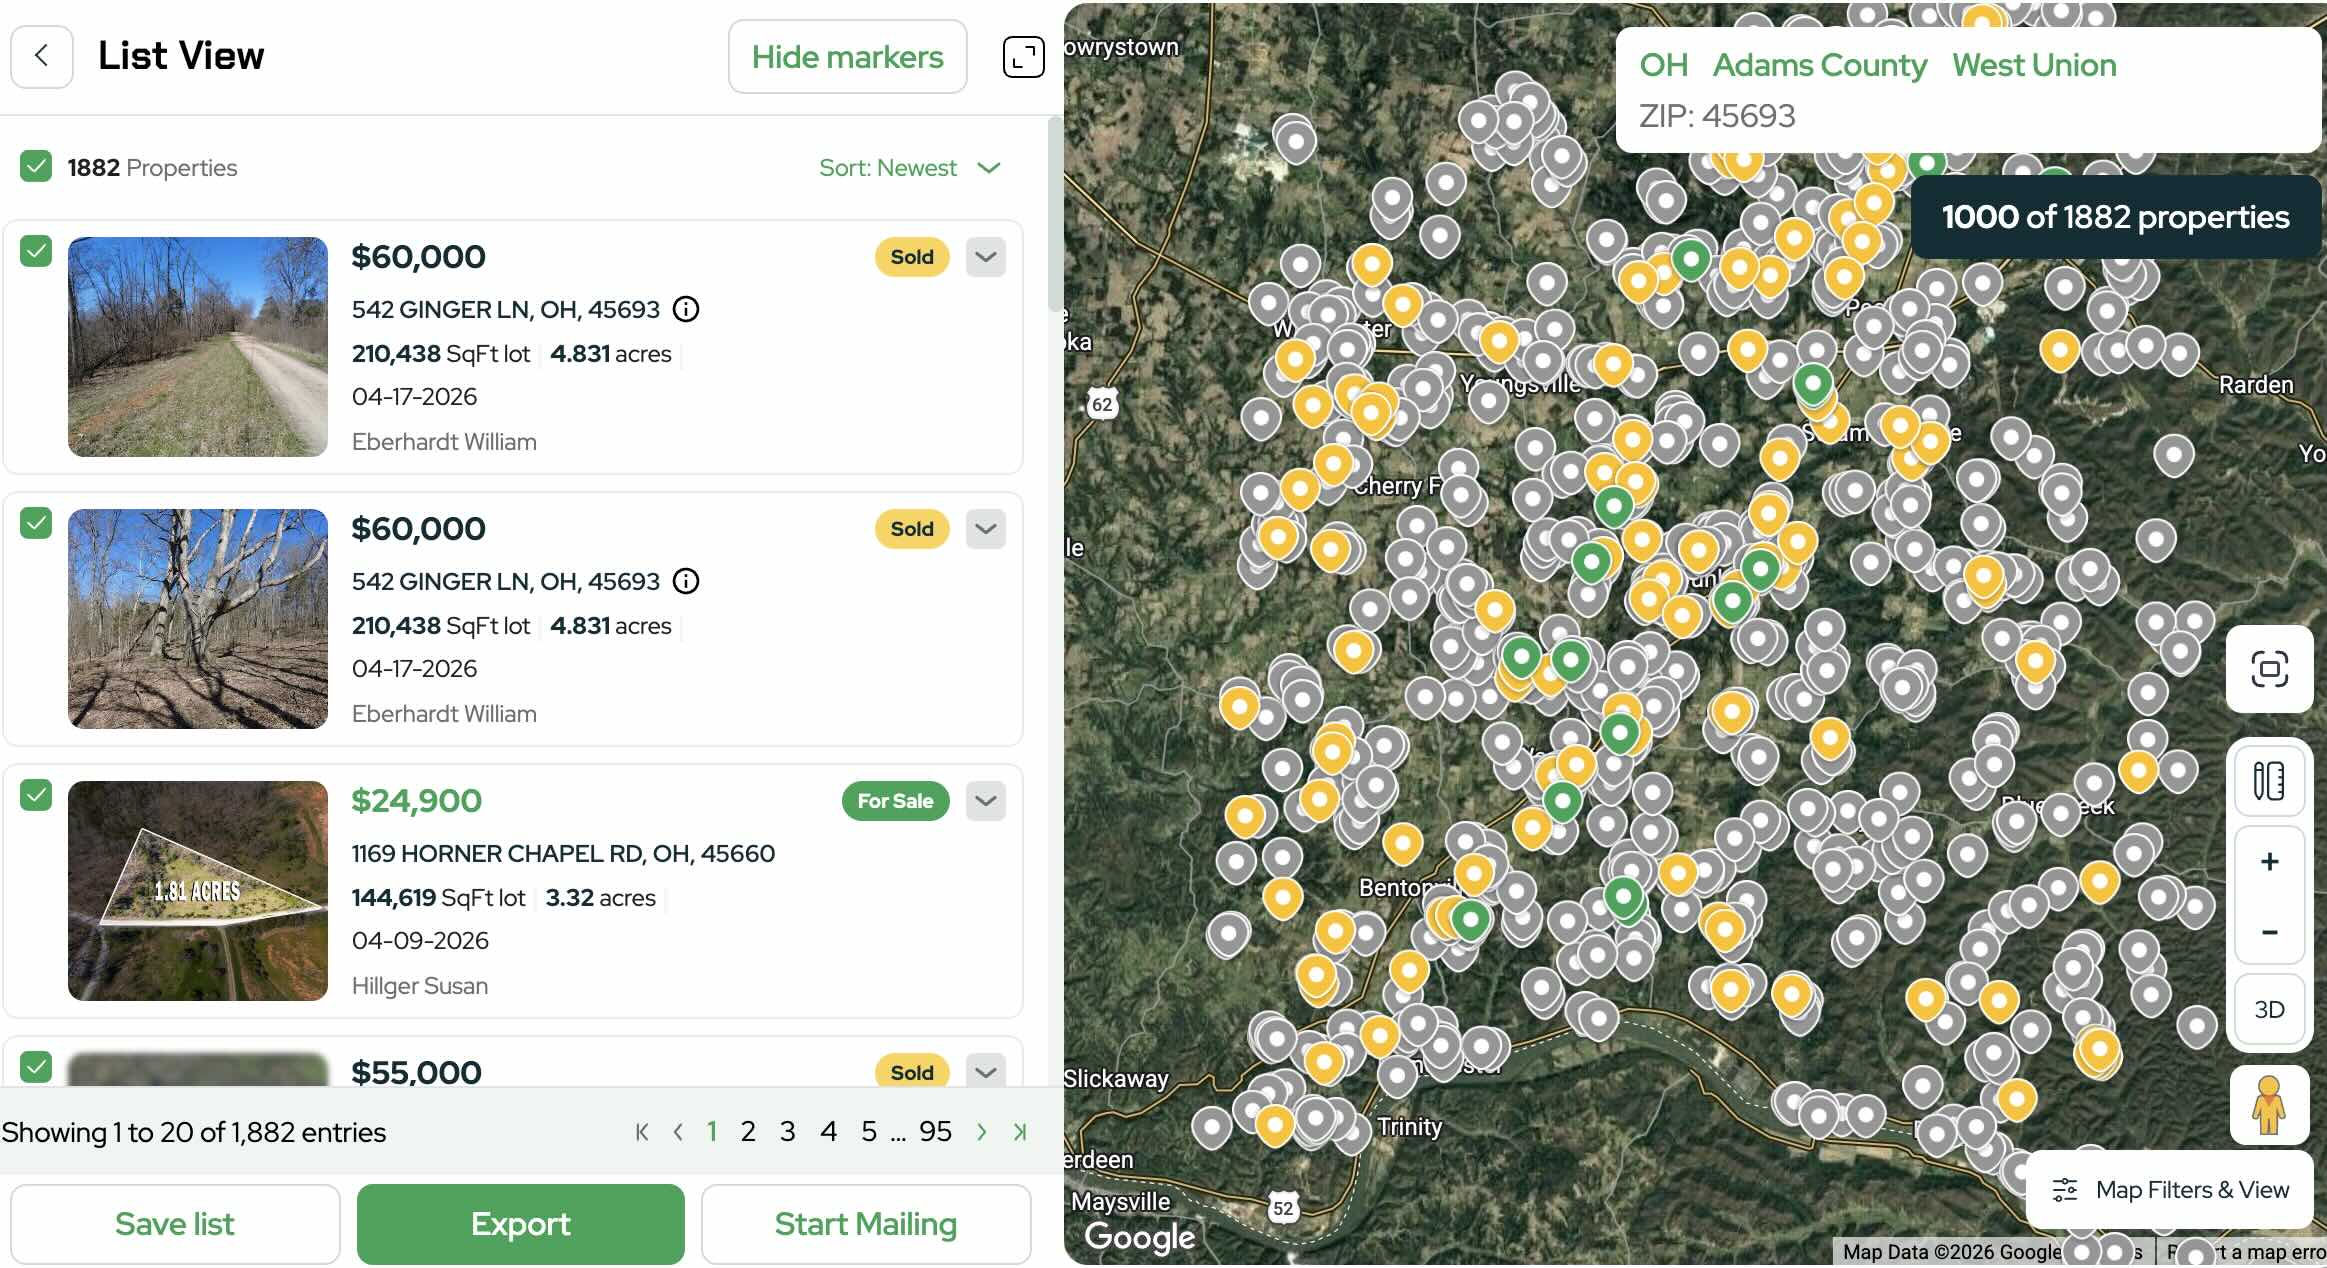
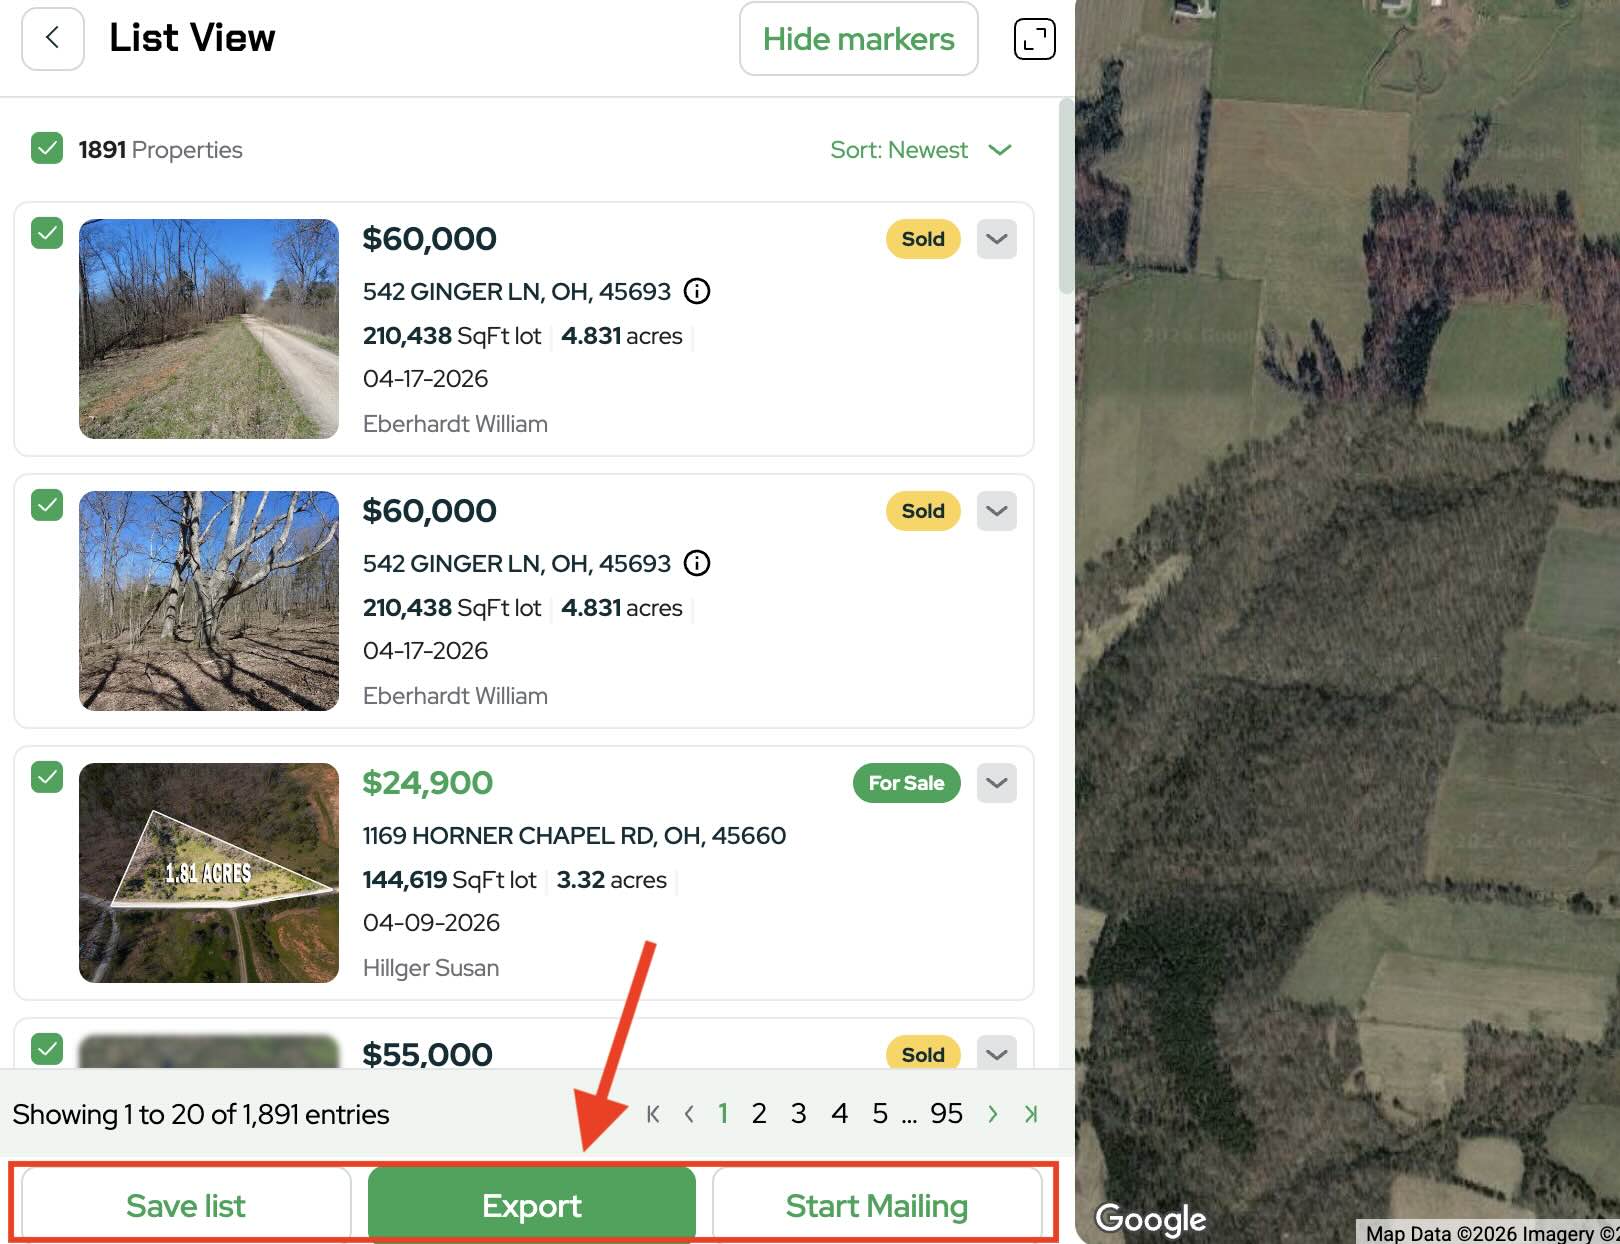
7. Switch to List View to review the filtered properties
- Zoom in on the map to visually confirm the wetlands distribution across parcels
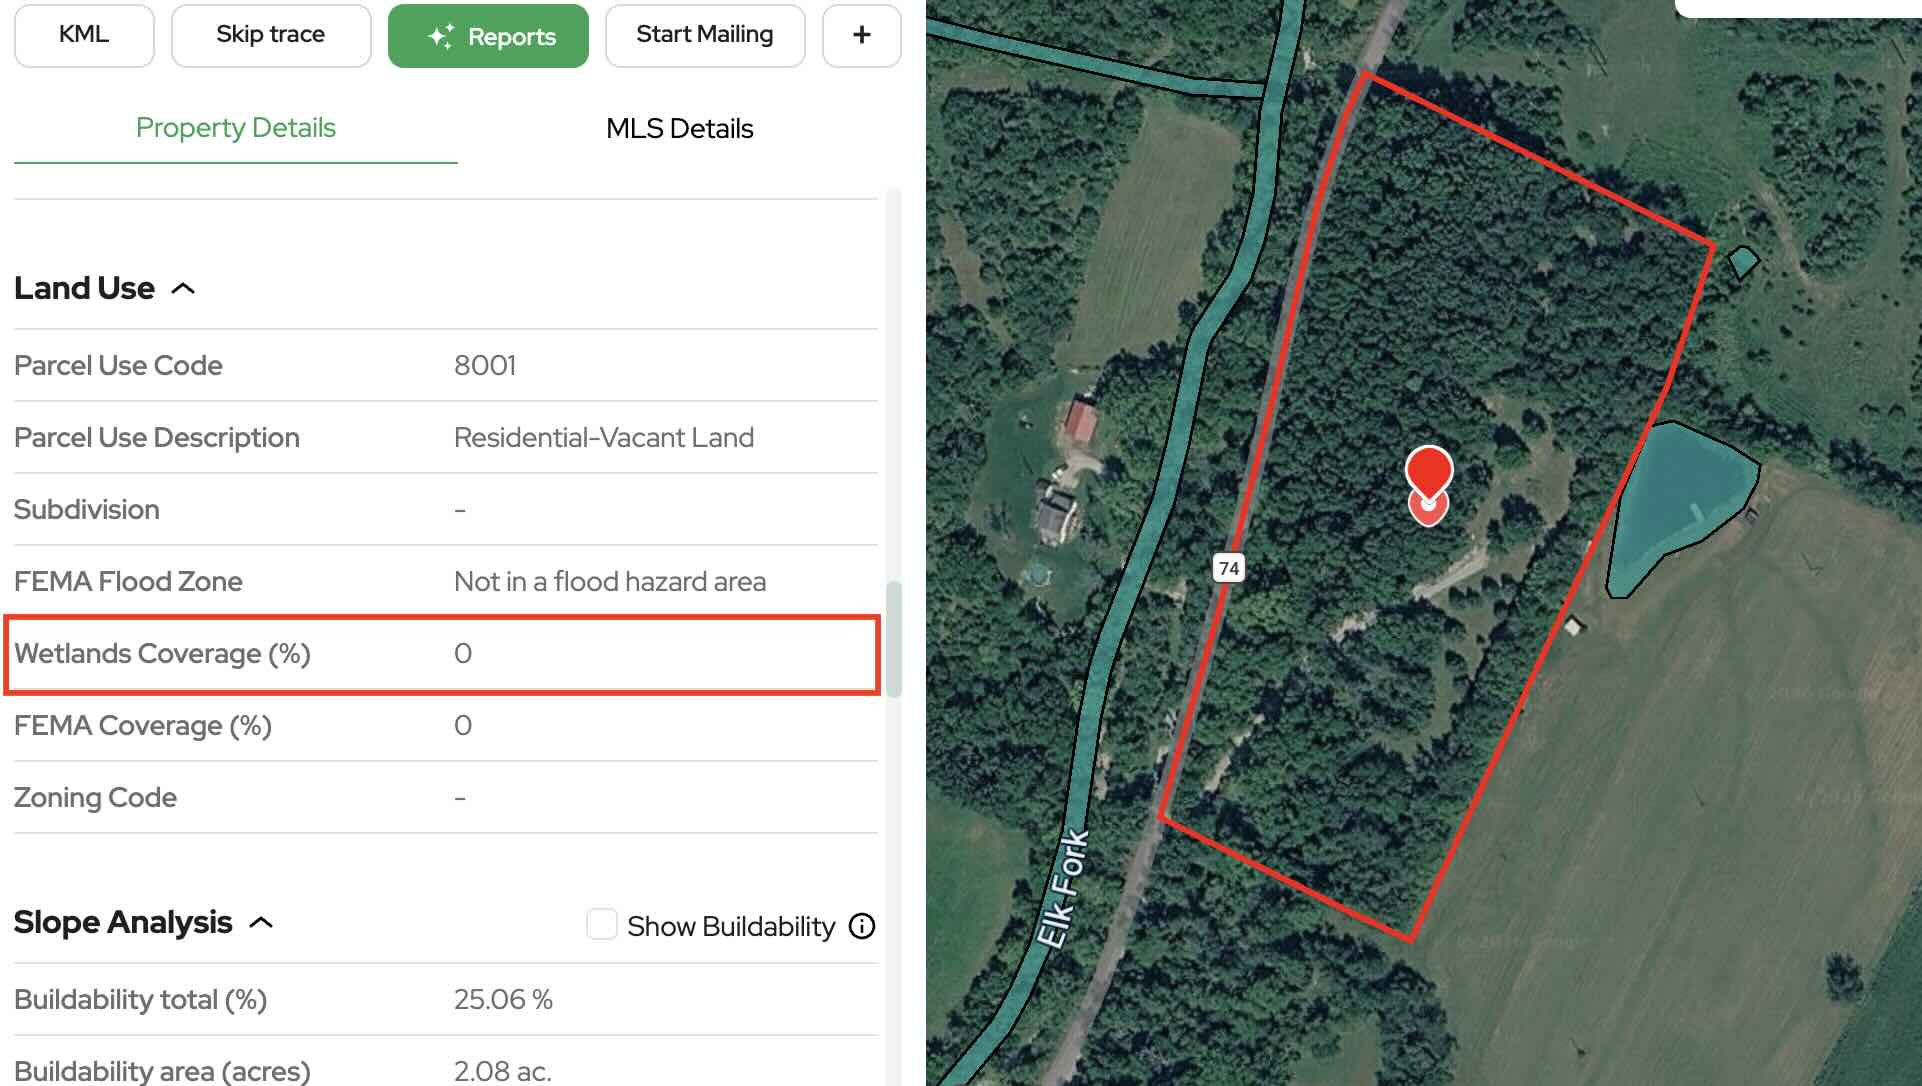
- Click into individual properties to open the property card.
Here you can view the Wetlands Coverage (%) under Land Use.
Confirm that each property falls within your selected wetlands percentage.
- (Optional) Adjust your wetlands range, for example 75%, and click Apply to compare results.
- Continue your normal workflow by saving your list, exporting, skip tracing or mailing.
Get Started with Land Portal
Whether you're trying to avoid wetlands completely or control how much is acceptable in your deals, Land Portal gives you the tools to filter smarter and make better decisions.
Start using the Wetlands filter today to clean up your data, target better properties, and improve your results.